.png)
Custom fishing shirts are more than just apparel. They are tools of performance, protection, and brand identity. Whether you're gearing up a tournament team, launching a fishing brand, or outfitting a corporate fishing event, knowing how the customization process works helps you avoid costly mistakes and ensures you get exactly what you need.
With 15 years in the fishing apparel industry, I’ll guide you through every stage of the custom fishing shirt journey — from your initial idea to the final product landing at your door.
Step 1: Initial Consultation & Requirement Gathering
Every successful project starts with a clear understanding of your needs. During the consultation, key questions include:
- What type of fishing shirt do you need? (e.g., long sleeve, short sleeve, hoodie, with/without built-in gaiter)
- What is the intended use? (e.g., tournament, saltwater, casual fishing, retail)
- Quantity, budget, and delivery timeline?
Industry Insight: Many first-time buyers focus too much on design and forget function. We always ask about fishing environments — saltwater anglers in hot climates need more breathable mesh panels and better UV protection.
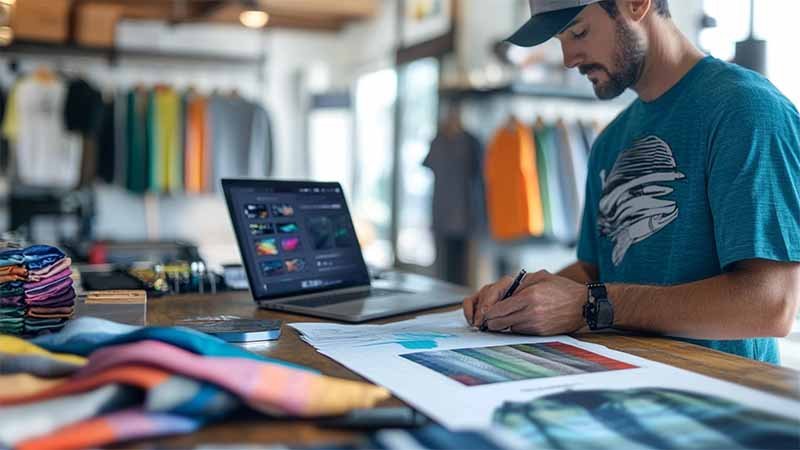
Step 2: Design & Mockup Creation
Once requirements are clear, the design phase begins. Most reputable manufacturers offer:
- 2–3 initial mockups based on your logo and preferences
- Unlimited revisions until you're happy
- Final design approval in high-res vector format
Sublimation printing allows full customization — gradients, photo graphics, sleeve artwork, custom text, etc.
Pro Tip: Don’t just put your logo on a plain shirt — integrate it with a dynamic background, marine graphics, and layered textures to stand out on the water and social media.
Step 3: Fabric Selection & Functionality Features
Fabric choice impacts comfort, durability, and performance. Common options include:
- 100% polyester microfiber: Lightweight, quick-dry, and soft on skin
- Bird-eye mesh fabric: For superior airflow in high-sweat zones
- Spandex blends: For added stretch, often used in competitive settings
Key features to request:
- UPF 50+ sun protection
- Moisture-wicking and fast-dry properties
- Anti-microbial coating to fight odor and bacteria
15-Year Tip: We often recommend hidden mesh panels under arms and sides for tropical zones. It dramatically improves comfort — a feature big box suppliers rarely suggest.
Step 4: Sample Production (Optional But Recommended)
Before producing hundreds or thousands of units, we recommend a sample:
- Verifies color accuracy, sizing, and fabric feel
- Lets you test wear and washing durability
If time doesn’t allow for physical samples, ask for high-resolution photos or videos showing the stitching, collar, cuffs, and print alignment.
Factory Tip: A sample costs a little more upfront but can save thousands if it reveals issues that need correcting before mass production.
Step 5: Mass Production
Once the sample is approved, full-scale production begins:
- Sublimation Printing: Your design is heat-pressed directly into the fabric for vibrant, permanent color.
- Cutting and Sewing: Each panel is cut and sewn according to size specs.
- Finishing: Labels, tags, zippers (if applicable), and final trims.
Expert Warning: Avoid suppliers who outsource printing and stitching separately. It often leads to size inconsistency and off-centered graphics. Always confirm if they handle everything in-house.
Step 6: Quality Control & Packaging
Every shirt should go through multi-point quality checks:
- Stitching accuracy
- Color fidelity
- Logo alignment
- Size matching (especially across multiple sizes)
Packaging is typically:
- Individually bagged
- Size-labeled
- Boxed securely for shipping
15-Year Experience: We provide clients with pre-shipment photos or videos to confirm quality and avoid surprises. It’s a level of transparency many factories skip.
Step 7: Shipping & Delivery
You’ll choose between two shipping options:
- Air Freight: Fast (5–10 days), best for smaller or urgent orders
- Sea Freight: Economical for bulk orders (20–35 days)
Your vendor should provide:
- Tracking numbers
- All necessary customs paperwork
- Support for import duties/taxes advice
Shipping Advice: Always factor in buffer time, especially if the shirts are needed for a tournament or launch. Delays due to weather, customs, or holidays happen — plan for them.
Final Thoughts
Custom fishing shirts are an investment in your brand, your team, and your performance on the water. With the right partner and clear understanding of the process, you’ll not only avoid missteps — you’ll get shirts that people remember and wear with pride.
Bonus Insight from 15 Years in the Industry:
- The best-performing teams usually have the best-looking gear. It boosts confidence and team identity.
- Retail brands that focus on comfort + visual appeal see far better repeat purchases.
- Don’t chase the lowest price — chase best value. That means good design, top fabric, and reliable delivery.
Ready to Start Your Custom Fishing Shirt Project?
Send us your logo and a rough idea — we’ll create a free visual mockup to get you started. No commitment, just expert advice and killer design ideas.