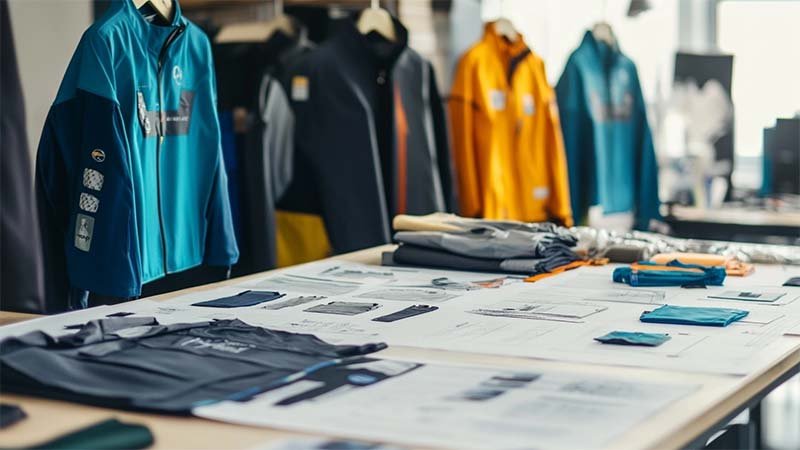
Custom fishing shirts are more than just team uniforms or brand merchandise—they represent your identity on the water. Whether you're gearing up for a fishing tournament, launching a new apparel line, or organizing a team event, this guide explains exactly what to prepare and how the full customization process works.
What to Prepare Before Customization
(1) Define the Purpose
Is your shirt for:
- A competitive fishing tournament?
- A fishing apparel brand launch?
- A sponsored event or giveaway?
- A fishing club or community?
Expert Tip: The shirt's function determines key specs like fabric performance, logo placement, and color psychology. For tournaments, prioritize comfort and UV protection.
(2) Gather Your Design Assets
You should prepare:
- Logos (preferably in AI, EPS, or high-res PNG)
- Color codes (Pantone or HEX)
- Fonts (especially for consistent branding)
- Sponsor logos (for team shirts)
Expert Tip: Avoid web-optimized logos—what looks good online may blur or fade on fabric. Vector files ensure high-quality prints.
(3) Size Breakdown & Quantities
Provide:
- Total number of shirts
- Size distribution (e.g., S: 5, M: 10, L: 8, etc.)
Industry Insight: Asian, US, and EU sizes differ. Request a custom size chart tailored to your market.
(4) Budget & Timeline
- Set a clear budget per unit
- Know your deadline (event date, launch, etc.)
Expert Note: Full custom polos, especially sublimated ones, require 15–25 days for production. Rush orders may limit design complexity.
Full Customization Process Explained
Step 1: Design Consultation
Provide your assets and inspiration. A designer will send digital mockups for your review.
Ask for multiple design options to evaluate layout, contrast, and branding impact.
Step 2: Fabric Selection
Choose from:
- Lightweight performance polyester
- UPF 50+ UV-blocking fabric
- Mesh or moisture-wicking fabric for breathability
Expert Pick: Anti-pilling, fade-resistant fabrics ensure shirts last beyond one season.
Step 3: Printing or Embroidery
Options:
- Sublimation: Best for full-color, edge-to-edge designs
- Embroidery: Great for logos and premium finishes
Sublimation doesn’t crack or peel—ideal for sun and salt exposure.
Step 4: Sampling
Request a:
- Physical sample (ideal)
- Photo/video sample (faster)
Check for logo alignment, stitching, and fabric color accuracy.
Step 5: Mass Production
Once the sample is approved:
- Design: 2–5 days
- Sample: 5–7 days
- Bulk production: 10–15 days
- Shipping: 5–10 days (air), 30–40 days (sea)
Step 6: Quality Control & Shipping
QC includes:
- Stitching inspection
- Color matching
- Sizing verification
- Final packaging (polybag, tags, labels)
Reputable factories offer a full QC report and shipping confirmation with photos or videos.
Bonus Tips from a 15-Year Industry Expert
(1) Work with a fishing apparel specialist, not a general sportswear factory.
(2) Insist on a custom size chart—avoid surprise returns or complaints.
(3) Request UV and anti-bacterial certifications—anglers care about long-lasting performance.
(4) Add individual names or team roles for a personal touch.
Final Thoughts
Custom fishing shirts are a blend of style, performance, and brand identity. With proper preparation and the right supplier, your shirts will stand out both on and off the water.
From the Expert: I’ve seen many clients regret rushing into a design or choosing the wrong supplier. Focus on fabric quality, design clarity, and brand alignment—your team or customers will thank you later.
Ready to design your own custom fishing shirts? Choose a factory that understands anglers—not just clothing. Let your gear speak for your brand.
.png)
-300x169.jpg)
