.png)
Before you jump into designing your custom fishing shirts, there are a few important things to get straight. Trust me—this prep work will save you a lot of time (and stress) down the line.
Here’s what you need to prepare before designing custom branded fishing shirts.
Before designing your own branded fishing shirts, start by clearly defining your target customer. Then, gather your brand assets like high-res logos, specific color codes, and brand fonts. Choose a shirt style and fabric that fits your performance needs, and be ready with design references to guide the look. Lastly, plan your size and quantity breakdown, decide on the best printing method, and think about packaging and labeling details. Proper planning now makes production smoother—and your shirts way more professional.
Once you've got the basics ready, everything else flows a lot easier.
Define Your Target Wearer: Who Will Be Wearing the Shirt?
If you don’t know who you’re designing for, you’re basically fishing without bait.
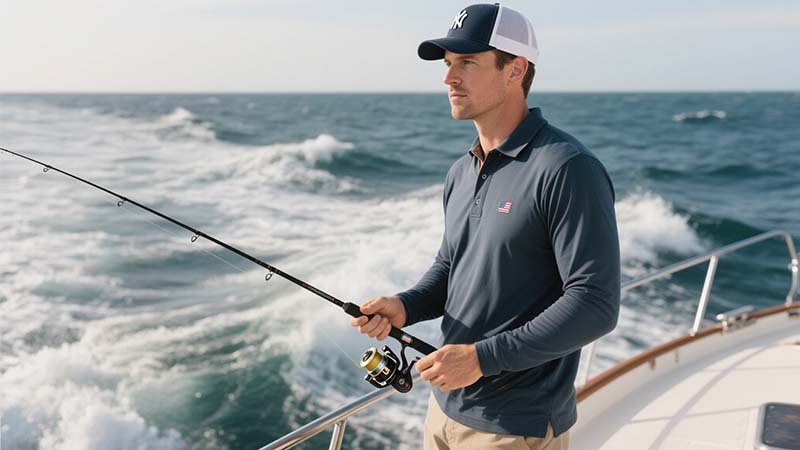
Understand your audience before designing.
Ask yourself: Are these shirts for hardcore tournament anglers, weekend warriors, or maybe a fishing charter crew? Knowing your target wearer helps you choose the right style, fit, and features—like sun protection, breathability, or long sleeves for sunburn-prone areas. Design decisions become much easier once you understand who you’re actually creating for.

How to Know Your Wearer?
This step is often skipped, but it shouldn’t be. I once made the mistake of ordering stylish slim-cut shirts, only to find out most of my buyers were larger-built guys who valued comfort over trend.
To avoid that, here are a few questions I always ask before designing:
- Who is my ideal customer? (Age, gender, profession, fishing habits)
- Where do they fish? (Hot climates? Offshore or lake?)
- What are their pain points? (Sunburn, sweat, cold mornings?)
- What image do they want to project? (Serious angler? Fun weekend hobbyist?)
Knowing this shapes everything—fabric, fit, even color choices.
| Target Group | Style Preference | Key Features Desired |
|---|---|---|
| Pro Anglers | Athletic, fitted | UV50+, breathable, sleek look |
| Casual Fishers | Relaxed fit | Comfort, fun designs |
| Charter Crews | Uniform style | Easy to clean, durable |
Prepare Your Brand Assets: High-Resolution Logos, Colors, and Fonts
Designers are not mind readers. Give them the right tools.
Have your brand elements ready.
Before you even talk to a designer or supplier, have your branding essentials on hand. These include:
- High-resolution logos in vector format (AI, EPS, or SVG)
- Exact color codes (HEX or Pantone)
- Brand fonts (or alternatives if the original is paid)
These assets help ensure that your fishing shirts actually feel like they belong to your brand—not just some random promo item. Your logo should be clean and clear even when printed small or large. Avoid JPGs or screenshots—trust me, they blur and pixelate easily.
Also, if you’ve already got a moodboard, style guide, or even past designs—share those too. It’ll save rounds of revisions.
Choose the Right Shirt Style and Fabric: Performance Comes First
The wrong fabric can ruin a good design—and a good fishing trip.
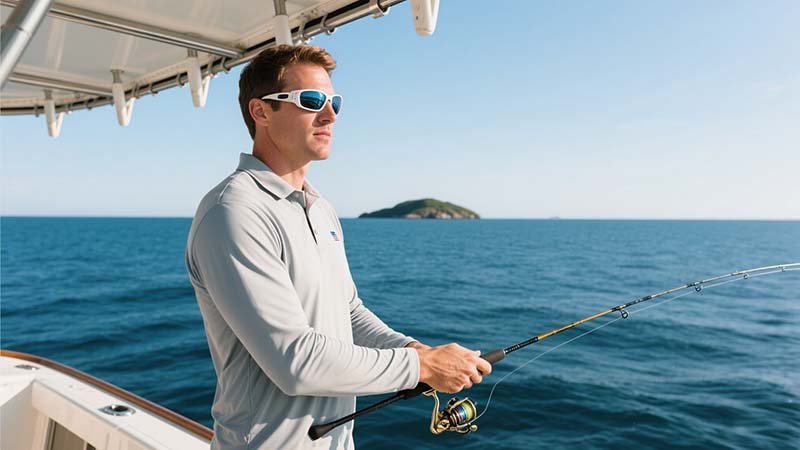
Function first, always.
Not all fishing shirts are created equal. There are big differences in:
- Sleeve length (short, long, roll-up)
- Collar style (crew neck, V-neck, hooded, button-up)
- Fabric type (polyester, spandex blends, bamboo cotton)
Here’s the thing: you can have the coolest design ever, but if the shirt gets soaked with sweat or chafes under the sun—it’s going to end up at the bottom of someone’s drawer.
Shirt Fabric Comparison
| Fabric Type | Pros | Cons |
|---|---|---|
| 100% Polyester | Lightweight, moisture-wicking | Can feel synthetic |
| Poly-Spandex Blend | Stretchy, UV resistant | Slightly more expensive |
| Cotton-Blend | Soft feel, natural look | Not ideal for sweat/sun |
Think about what matters most to your audience—comfort, cooling, or long-lasting durability—and choose accordingly.
Provide Design Direction: Use Visual References to Guide the Look
Don't just say “I want it to look cool.” Be specific.
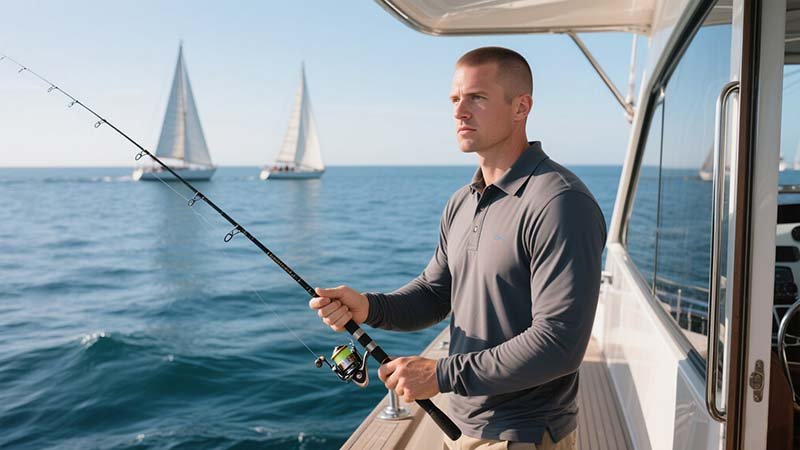
Give your designer a visual map.
I used to say things like “I want something modern and bold.” And every time, the designer and I would go back and forth… a lot.
Now I prepare like this:
- Screenshot styles I love
- Sketch where I want the logo
- Circle colors I like
- Explain what I don’t want
You don’t need to be a designer to do this. Just grab examples from Google, Pinterest, Instagram—anything that captures the look you’re going for. This helps your supplier understand your taste and avoids surprises.
Plan Your Quantity and Size Breakdown: Avoid Overstocks and Gaps
Ordering blindly is risky—and expensive.
Know your numbers.
It’s easy to guess wrong on sizes. I once ordered way too many Mediums… only to find out most of my buyers were XLs.
Here’s a safe starting point if you don’t have sales data yet:
| Size | % of Order |
|---|---|
| Small | 10% |
| Medium | 25% |
| Large | 30% |
| XL | 25% |
| 2XL+ | 10% |
Also, think about how you plan to sell:
- Events? You may need more stock on-site.
- Online pre-orders? You can collect sizes in advance.
- Retail? Keep the best-sellers in higher quantities.
And always round up slightly on popular sizes.
Decide on the Printing Method: The Right Technique Makes It Last
What looks good on Day 1 should still look good on Day 100.
Choose your printing method wisely.
Every technique has its strengths. It’s not about picking the “best,” but the one that fits your shirt material, budget, and design.
Printing Method Breakdown
| Method | Best For | Downsides |
|---|---|---|
| Sublimation | Full-color, all-over prints | Requires light poly fabrics |
| Screen Printing | Bold logos, cost-effective | Limited detail or color blends |
| Heat Transfer | Small batches, photos | Can peel over time |
| Embroidery | Logos on chest or sleeve | Not for detailed artwork |
Sublimation is my go-to for vibrant, breathable shirts—but it's not for everyone. Talk to your supplier about what works best for your specific design and shirt fabric.
Custom Packaging and Labeling Options
It’s not just the shirt—it’s the experience.
Add brand value with packaging.
Imagine getting a shirt in a crisp, resealable bag with your logo on it. Inside? A thank-you card, a custom neck label, maybe even a small sticker. That’s how you stand out.
Here are a few low-cost branding upgrades that make a big difference:
- Custom woven neck labels
- Printed polybags
- Hang tags with your story
- Thank-you cards or QR codes for social media
These touches turn a shirt into a branded experience—and help your audience remember (and recommend) you.
Conclusion
Doing a little prep now can make your whole custom fishing shirt project smoother—and a lot more successful.